Seed saving for kids

Hi greenthumbs!
Did you know that you can save your own seeds from the plants in your garden?! You can collect the seeds all up, save them in a container and when the season is right, you can plant them and they will grow more plants. That’s amazing!
Some people buy their seeds from the shops or garden nursery, but you don’t have to. You can collect seeds from your garden or pot plants and it won’t cost you anything. And, what’s even better is that your seeds will grow more food! Seeds rock!
Seeds are so clever. Sometimes they will even ‘self-seed’ which means that they will fall down into the soil and grow into a plant all by themselves. That’s how it works in nature!
Watch my video to find out how you can save your own seeds.
So here’s how to be a seed saver like me!
Step 1 – Collect
When a plant gets to a certain stage it will ‘go to seed’. This means it has made its own seeds! For plants like lettuce, rocket and basil, you need to let them keep growing instead of pulling them out or picking them off. They will start to flower and make seeds.
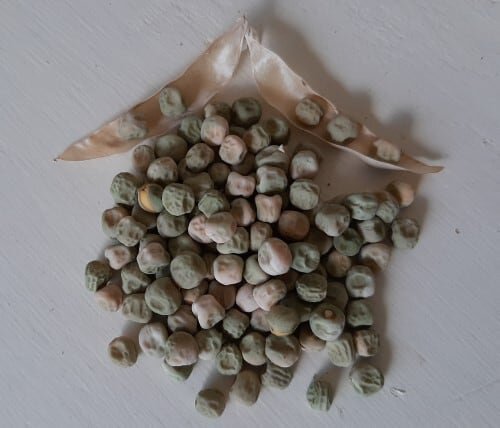
There are different ways of collecting seeds depending on the type of plant. For lots of plants, you need to wait until the seeds go brown and dry, then you can pick them or shake them off. For seeds that are in pods (like peas or beans) it’s best to leave the pods on the plant until they go dry.
Step 2 –Dry
After you have collected your seeds, leave them to dry for a few days. You could pop them on a plate or some paper towel. Leave them somewhere warm, like on your windowsill to dry. When they are completely dry, it’s time to store them.
Step 3 – Store
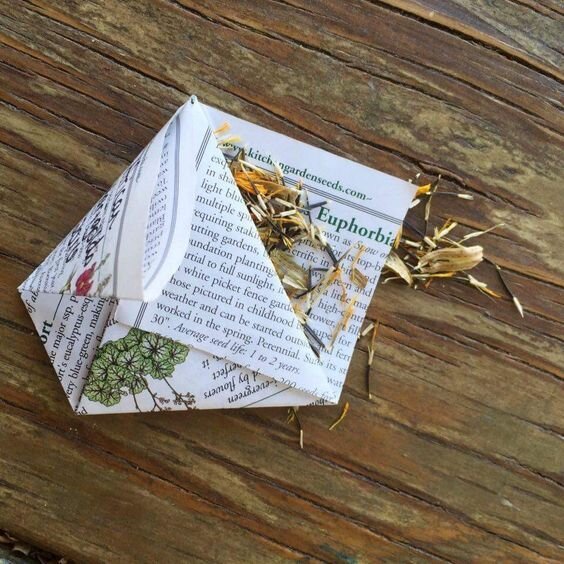
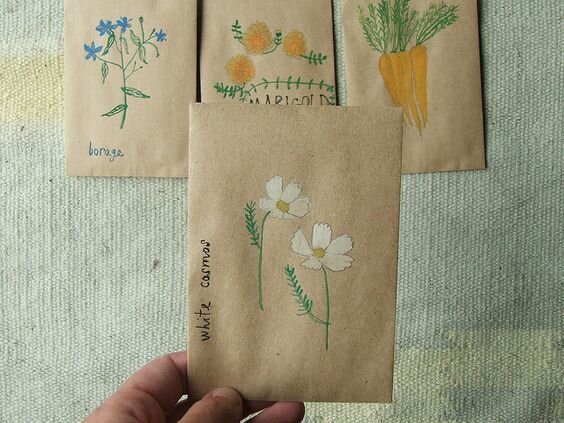
The best place to keep your seeds is in a container with a tight lid. But to make sure your different seeds don’t get all mixed up, pop them into separate little packets first. Use little envelopes or make your own seed packets with recycled paper (have a look down below for some cool ideas I found!).
Remember to write the name of the seed and the date you collected them on the packet. Then put your packets into your special seed container and keep it in a cool, dark and dry place. Some people keep their seed containers in the fridge.
Step 4 – Plant
Most seeds will last a few years if they are stored properly. When it’s time to plant them in the soil, they will grow into a plant and the plant will make more seeds again! And on and on it goes. It’s one of nature’s most amazing cycles!

Three seeds to save
Have a go! Here are three seeds to collect and save.
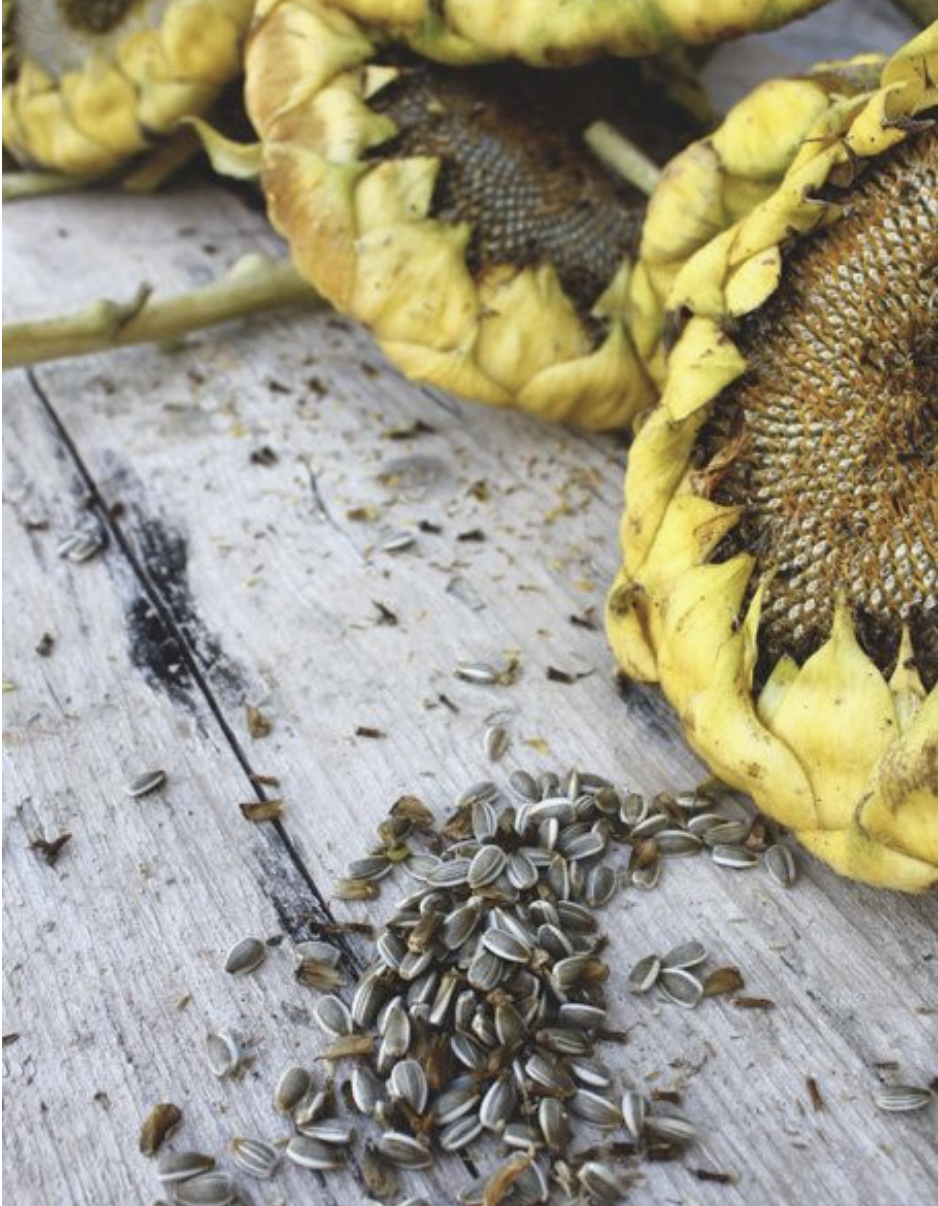
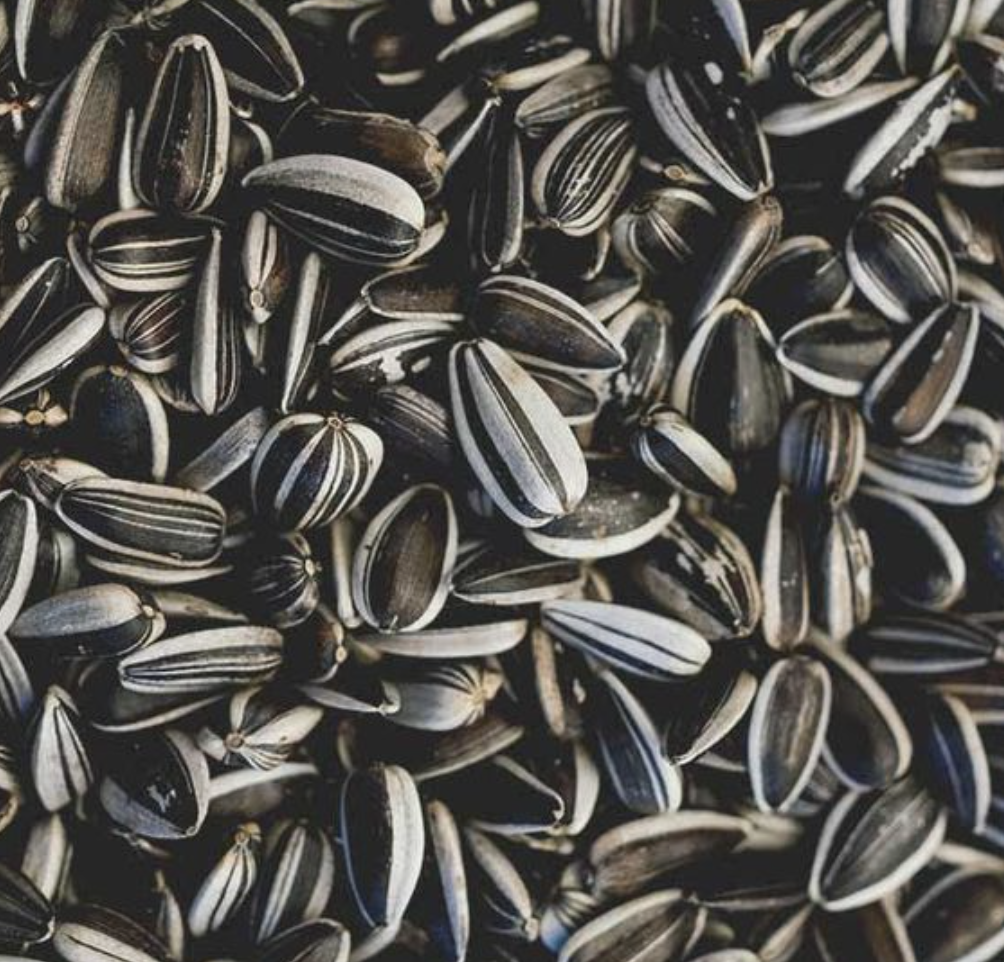
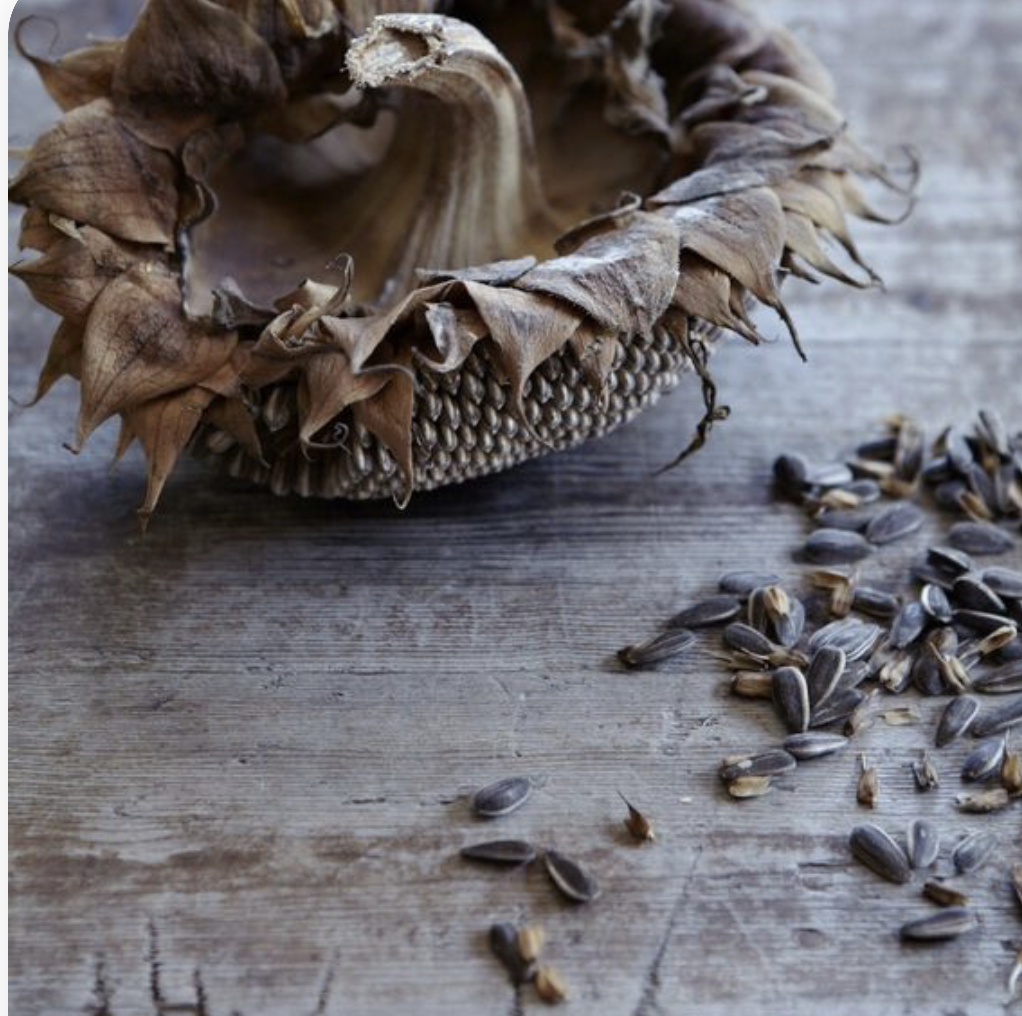
Sunflowers
Once the sunflower looks dry and the petals have died off, you can take the flower head off and pull the seeds out with your fingers (or use a fork to get them out).
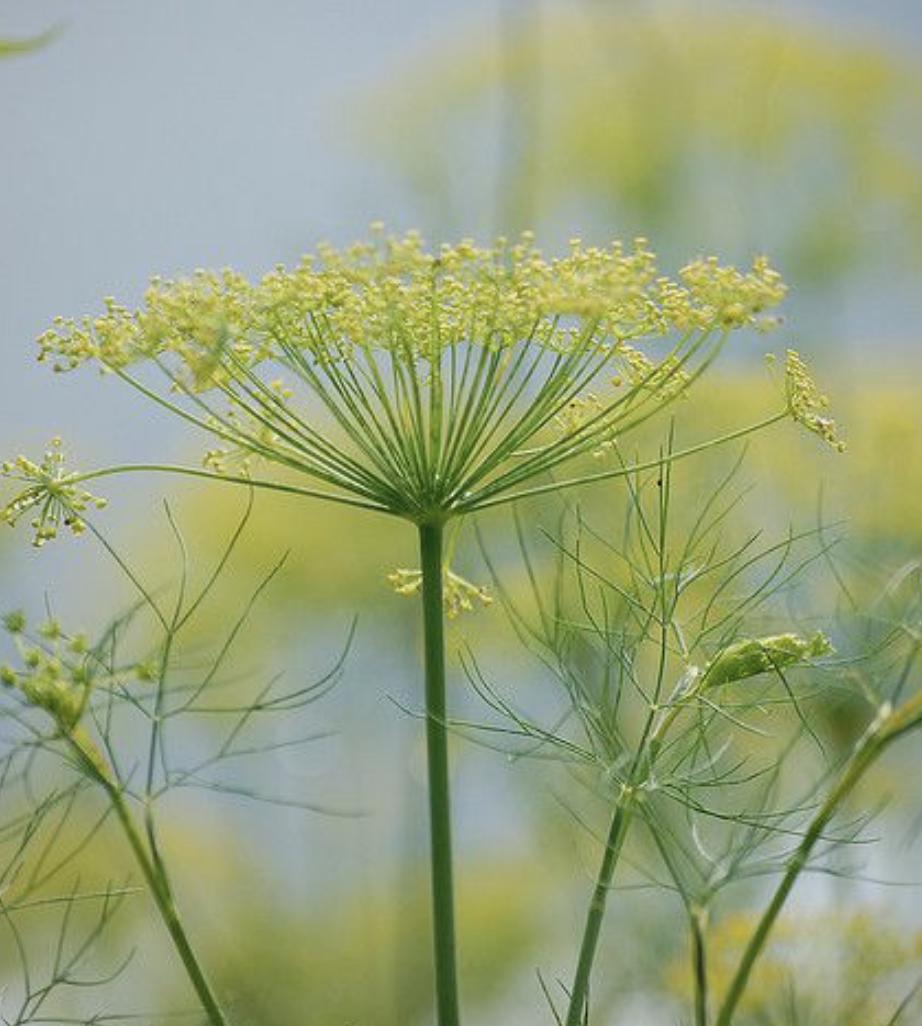
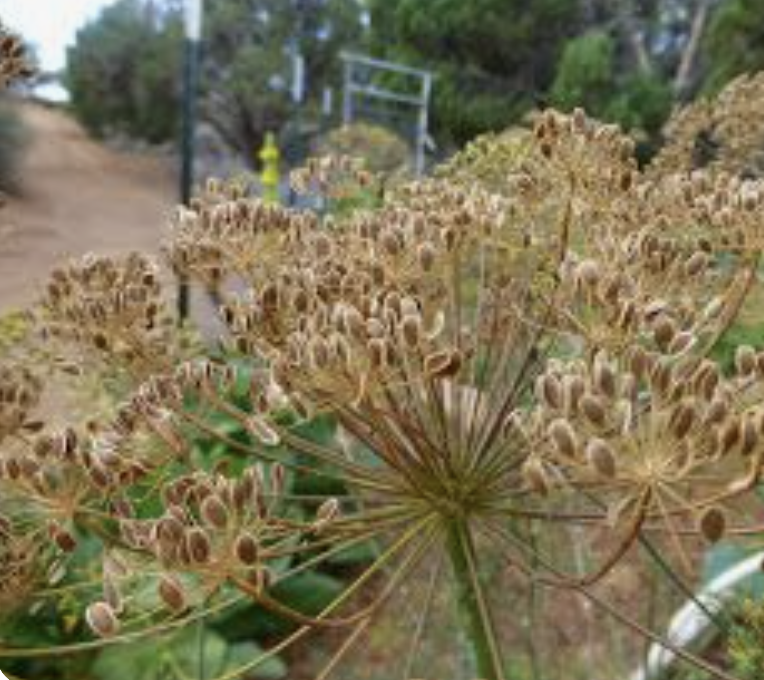
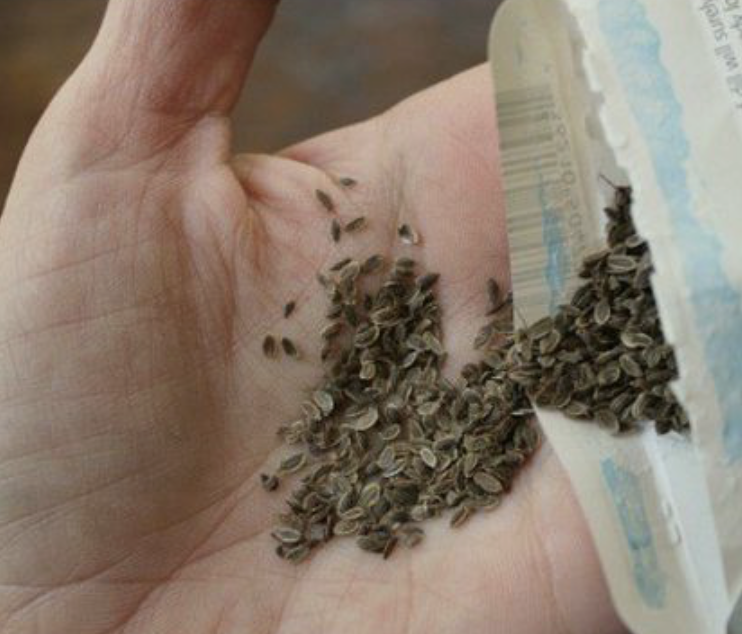
Dill
You can harvest dill seeds when the little seeds have gone brown. Pick the whole flower head off and then shake the seeds into a big bowl or bag.
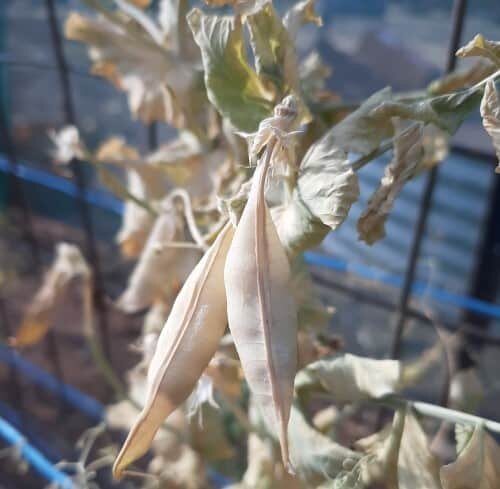
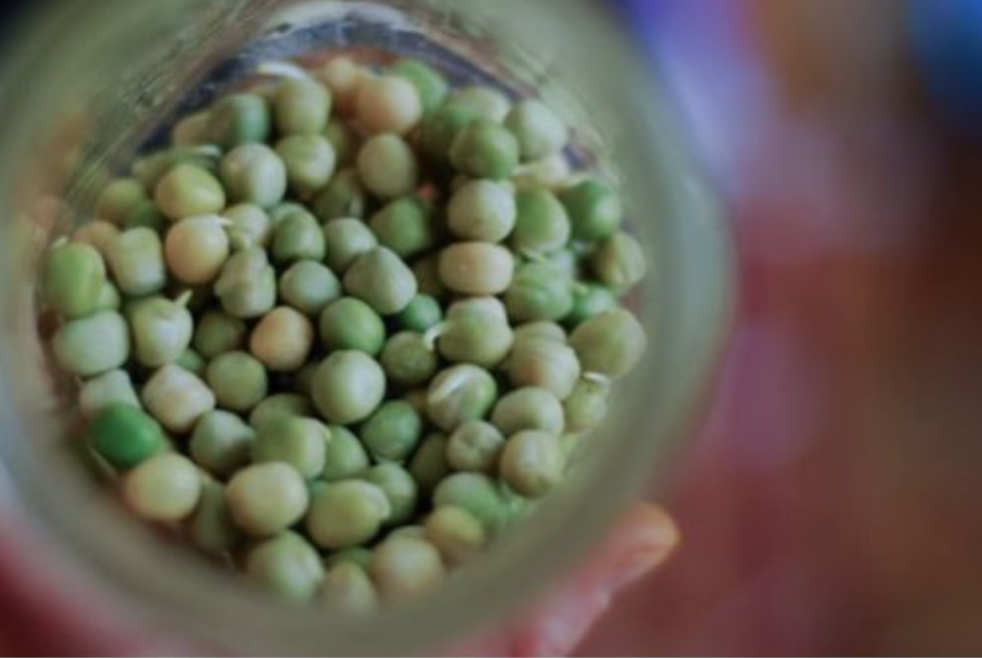
Peas
Leave the pods on the plant until they go dry, then pick them off, open them and pick the seeds out
Make your own seed packets
Here are some cute ideas for making your own seeds packets.
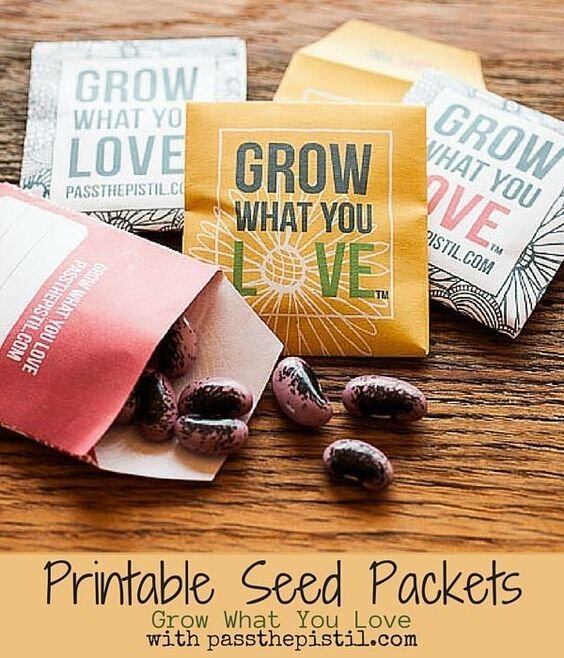
You can swap seeds with your family or friends, or they would make a great gift!
See you later seed savers!
